.jpg)
ShadeHouse Installation Guide: Key Considerations for Long-Term Use
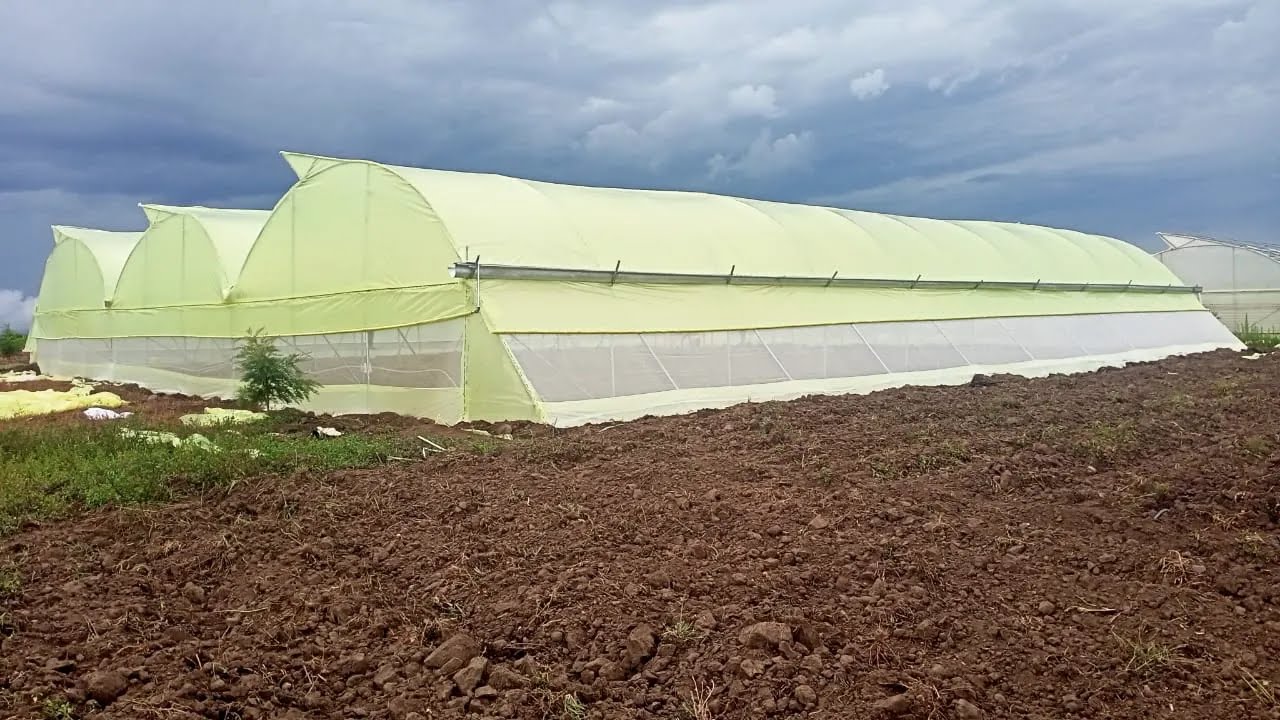
There'sa version of shade house installation that goes like this: someone measures outthe land, holes get dug, poles get hammered in, a net gets stretched over thetop, and the whole thing is done in a day.
Sometimesthat works out just fine. More often, it becomes the reason a farmer is back onthe phone six months later, wondering why the net is sagging, the poles areleaning, and the structure barely made it through the long rains.
Ashade house is a long-term investment. Treatthe shade house installation process that way, and you'll be farming inside itprofitably for many years. Cut corners on it, and you'll spend that same timepatching, realigning, and eventually rebuilding.
Thisshade house installation guide covers the considerations that actuallydetermine how that story ends.
Startwith the Right Site
Beforea single tool comes out, the site needs to be evaluated honestly. This meansasking a few questions that will save you significant headaches later.
Isthe ground level?A shade house constructed on uneven or sloped ground creates drainage problemsimmediately. Rainwater and irrigation runoff will pool at the lower end,leading to waterlogged soil, root disease, and an uneven growing environment.
Theland should be graded to a near-flat surface, with at most a very gentle slopeto allow water to drain away from the structure rather than collect inside it.
Isthere reliable access to water?Every productive shade house needs an irrigation system, and that irrigationsystem needs a consistent water source nearby. Installing the structure at apoint on the farm where connecting irrigation lines becomes a major engineeringproject in itself adds cost and complexity that could easily have been avoided.
What'sthe wind situation?Check the direction the prevailing wind comes from on your farm. The shadehouse should be oriented so the wind flows along the length of the structure,not into the broadside of the net wall.
Astructure taking full wind pressure on its largest face puts constant stress onthe frame and anchor points, stress that accumulates and eventually shows up asleaning poles or torn net edges.
Isthe site free from shade?This sounds obvious, but it's worth stating: a shade house still needssunlight. Nearby trees, buildings, or raised ground that cast shadows over partof the structure during the morning or afternoon will reduce crop performancein those sections. Choose a location that gets open, unobstructed lightthroughout the day.
Getthe Ground Anchoring Right
Here'swhere a lot of shade house setups fail quietly, and the failure only becomesobvious when the wind picks up.
Acrucial part of any shade house installation work is anchoring the verticalpoles supporting the structure firmly enough to resist lateral pressure, meaningthe sideways force the wind applies to the net and frame.
Simplypushing poles into soft soil and hoping for the best is not a foundationstrategy; it's a shortcut that works until it doesn't.
Fora quality installation, the base of each upright pole should be set in aproperly dug hole, typically around 60 centimeters deep, and secured withconcrete.
Cornerposts deserve extra attention since they carry the highest tension loads in thestructure. These should have the deepest footings and the most robust anchoringof any point on the frame.
FrameAssembly: Sequence and Precision Matter
Assemblingthe frame out of sequence or without checking alignment as you go is a reliableway to end up with a structure that leans, sags, or sits unevenly.
Goodshade house installation proceeds methodically: corners first, then perimeterpoles, then internal supports, with alignment checked at each stage beforemoving to the next.
Ensureto make the connections between frame members with proper tapping screws orbolts rated for outdoor use. Improper or undersized fasteners loosen undervibration and repeated wind load, and a connection that's lost its integrity inone place begins transferring stress to neighboring joints, which then follow.
Internalsupport poles, where the roof span requires them, should be placed at theintervals specified by the frame design, not eyeballed in the field. Thesesupports are what prevent the roof section from deflecting under the weight ofa rain-soaked net, and placing them too far apart is one of the most commoncauses of flat-roof shade house damage during heavy rainfall.
NetTensioning and Fixing
Gettingthe net onto the frame correctly is as important as the frame itself. A netthat's applied loosely will flap in the wind, causing abrasive wear at everycontact point with the frame. One that's over-tensioned creates stress at thefixing points and distorts the frame.
Thenet should be pulled taut in both directions and fixed at intervals closeenough that no significant sag develops between the fixing points.
UV-ratedcable ties, locking clips, or wire are the standard fixing methods, and thefixings need to be UV-rated, not generic cable ties from the hardware shelf.
Plasticthat isn't UV-stabilized becomes brittle within a season of sun exposure andbegins snapping, releasing sections of net from the frame.
Atthe base of the walls, the net should be fixed securely at or near ground levelto prevent wind from getting underneath and lifting it. A loose wall base isone of the most common starting points for net damage that then works its wayupward.
Irrigationand Bed Setup: Do This Before Planting
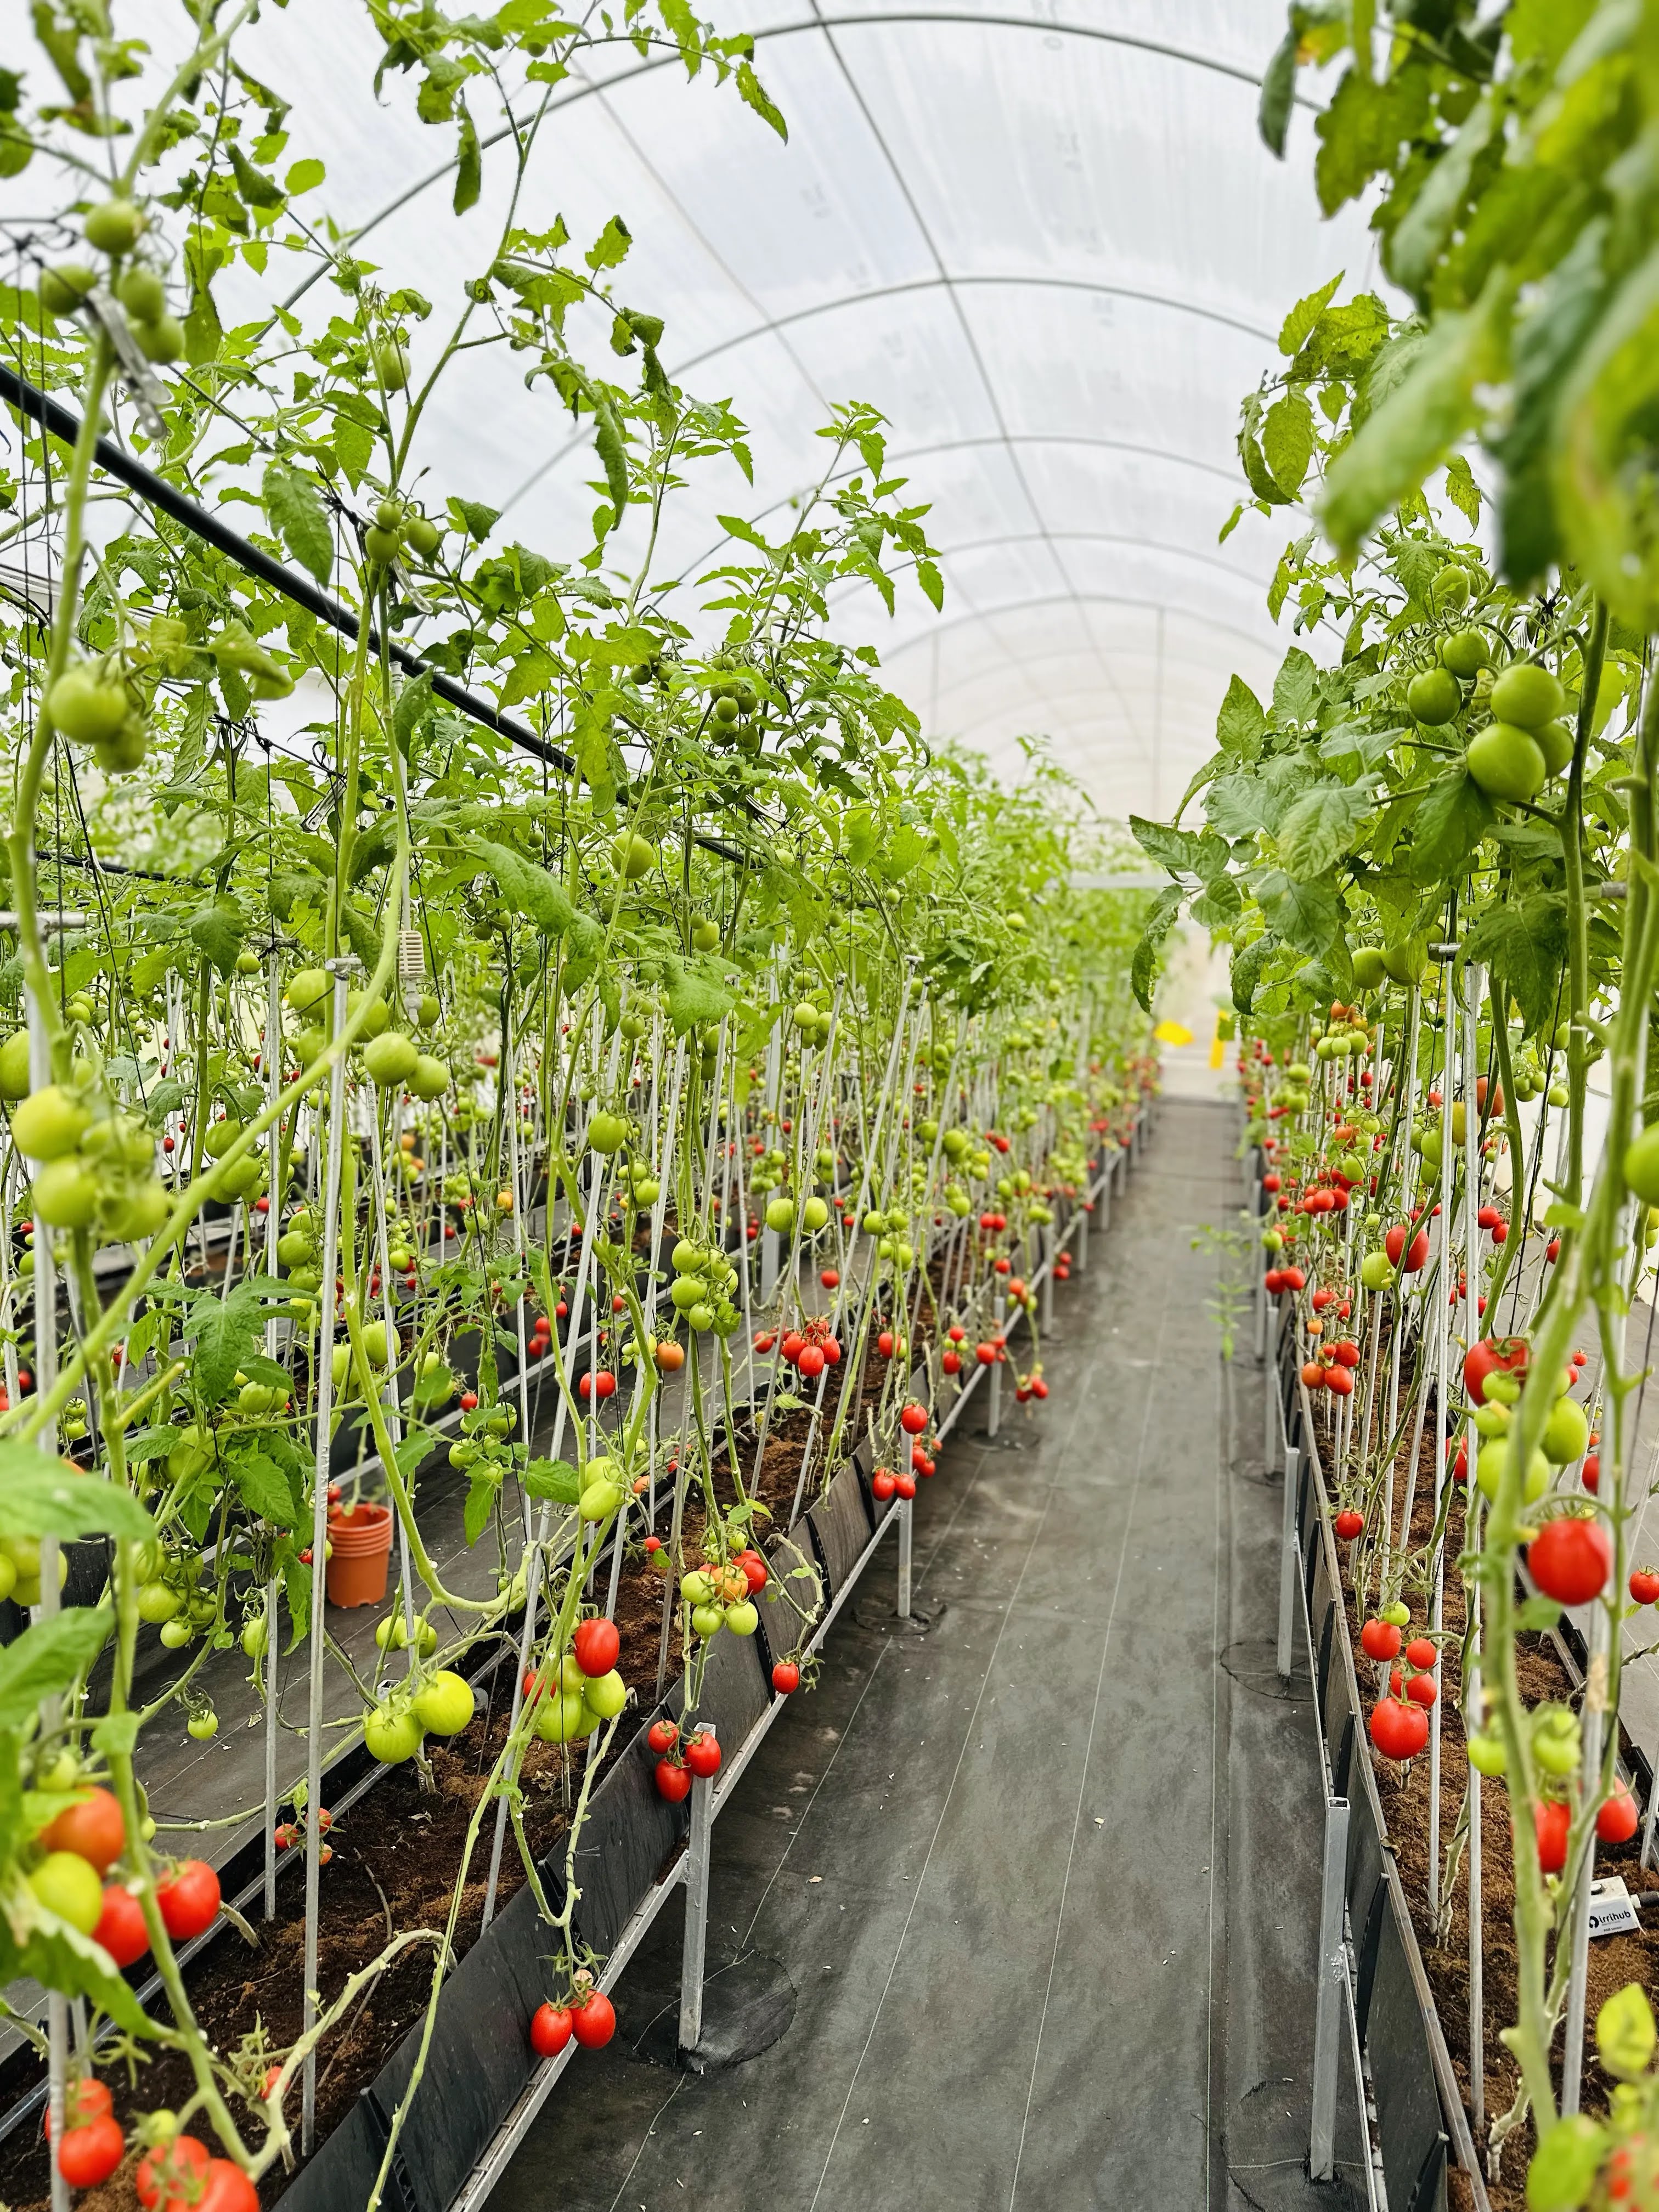
Oncethe structure is up and before any soil preparation begins, install the irrigation system. Running drip lines, laying headerpipes, and connecting to the water source is straightforward when the beds areempty.
Doingthe same work after crops are in the ground means working around plants,risking root disturbance, and usually ending up with a less tidy installationthan you'd like.
Setup the beds at this shade house installation stage, too. Define the bed width,mark out the walkways, and level each bed surface. Incorporating compost ororganic matter into the beds now, before irrigation is running, lets youthoroughly prepare the soil without having to work around irrigation lines.
OriginalReliable Shade Houses in Nairobi, Kenya at Irrihub Ke, +254 112 148 880
Ifyou are looking to buy reliable, high-quality shade houses in Kenya, Irrihubhas nice offers you may consider. We sell shade housesand other growingsolutionsas independent units or as complete solutions (kits). The complete shade house solutionsinclude:
· Fullgalvanized steel shade house structure
· UV-treatedshade net
· Entryporch
· Completedrip irrigation system
· Qualitywater tank (size varies by tier)
· Professionalinstallation by IrriHub trained technicians
· Farmertraining on shade house management and irrigation operation
· After-salessupport from the IrriHub team
· 2-yearwarranty on structure and materials
AfterInstallation: The First Season Check
Inthe first few weeks after your shade house installation is complete, make ahabit of inspecting the structure after any significant wind or heavy rainevent.
Checkthat no poles have shifted, no fixing points have loosened, and no sections ofnet have begun to peel away from the frame. A small issue caught and correctedin the first month costs almost nothing to fix. Ignoring the same issue for afull season can compromise the structural integrity of the whole structure.
Awell-installed shade house, on the right site, with properly anchored poles,correctly tensioned net, and integrated irrigation, is a structure you'll farminside confidently for many seasons. Getting the installation right isn't thehard part; it just requires not skipping the steps that matter.
Wantguidance with your shade house installation? Booka site visit today,and our experts will be at your disposal.